

When it comes to decorating with pumpkins, the opportunities are endless. Whereas carved pumpkins are normally only on display for Halloween, a painted pumpkin can be on display throughout autumn, and you can create a pumpkin to match any decorating style.
Step 1: Choose Pumpkin
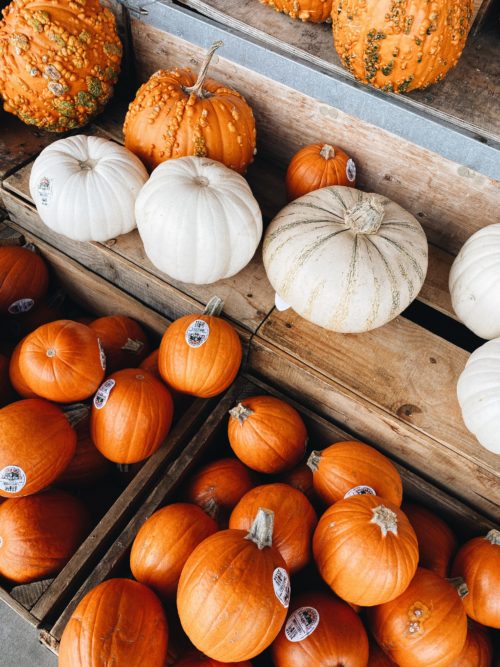
The pumpkins that will last the longest are orange or slightly green, but not yellow. Check the stem carefully. If the stem is green, that’s a great sign, but brown isn’t necessarily bad. The stem is also where the mold will start to form and you definitely don’t want a pumpkin already showing signs of molding. Also, to avoid rot, choose a pumpkin with no scars or soft spots. Any variety of pumpkin can be painted, but the bumpy / warty kinds are tough. The sugar pie variety is my favorite.


Step 2: Prepare Pumpkin
Wipe your pumpkin clean with a baby wipe or a damp paper towel then dry it. Take care not to scratch it in the process. Some people choose to paint or spray their pumpkin with a clear gesso, matte medium, or varnish. It’s not necessary, but might preserve the pumpkin for longer and help the paint to stick to the surface better. Make sure you let it dry completely if you choose to do this step.
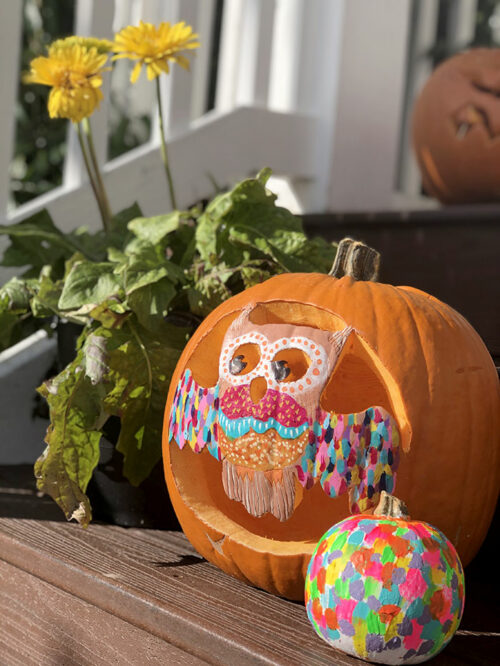
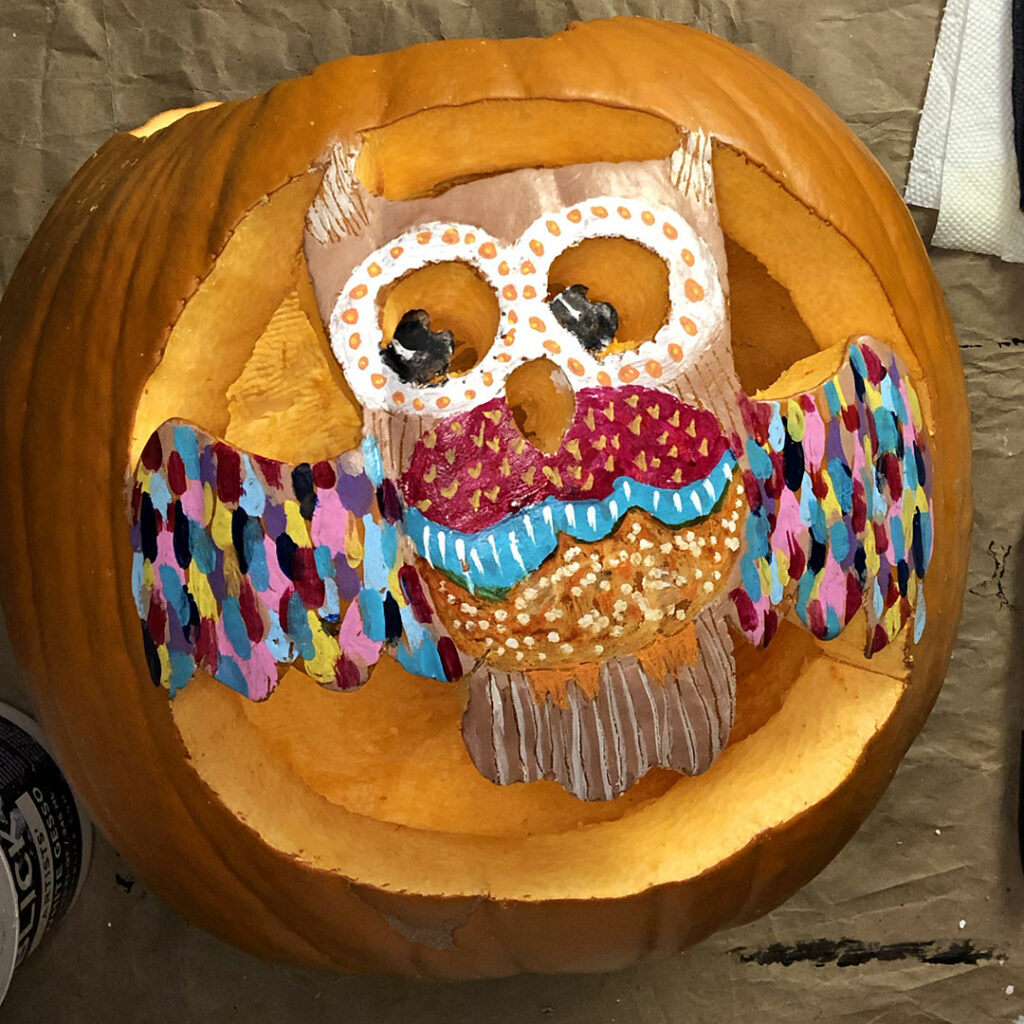
If you choose to do a hybrid carved-painted pumpkin, carve before you paint. Otherwise, your paint will be scratched and ruined in the carving process. Feel free to download the owl pumpkin carving template if you’d like. The one I used was old. I couldn’t find it so I made this new one to share.
Step 3: Gather Materials
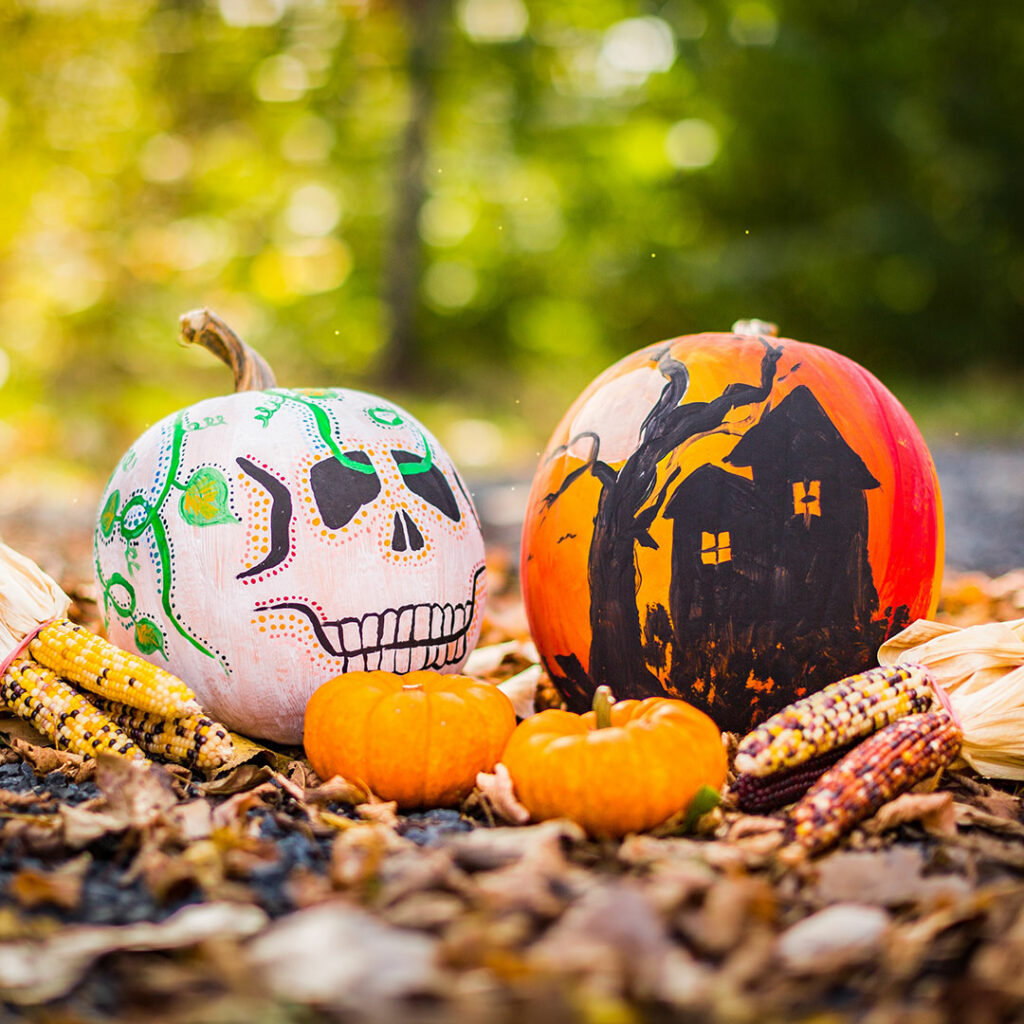
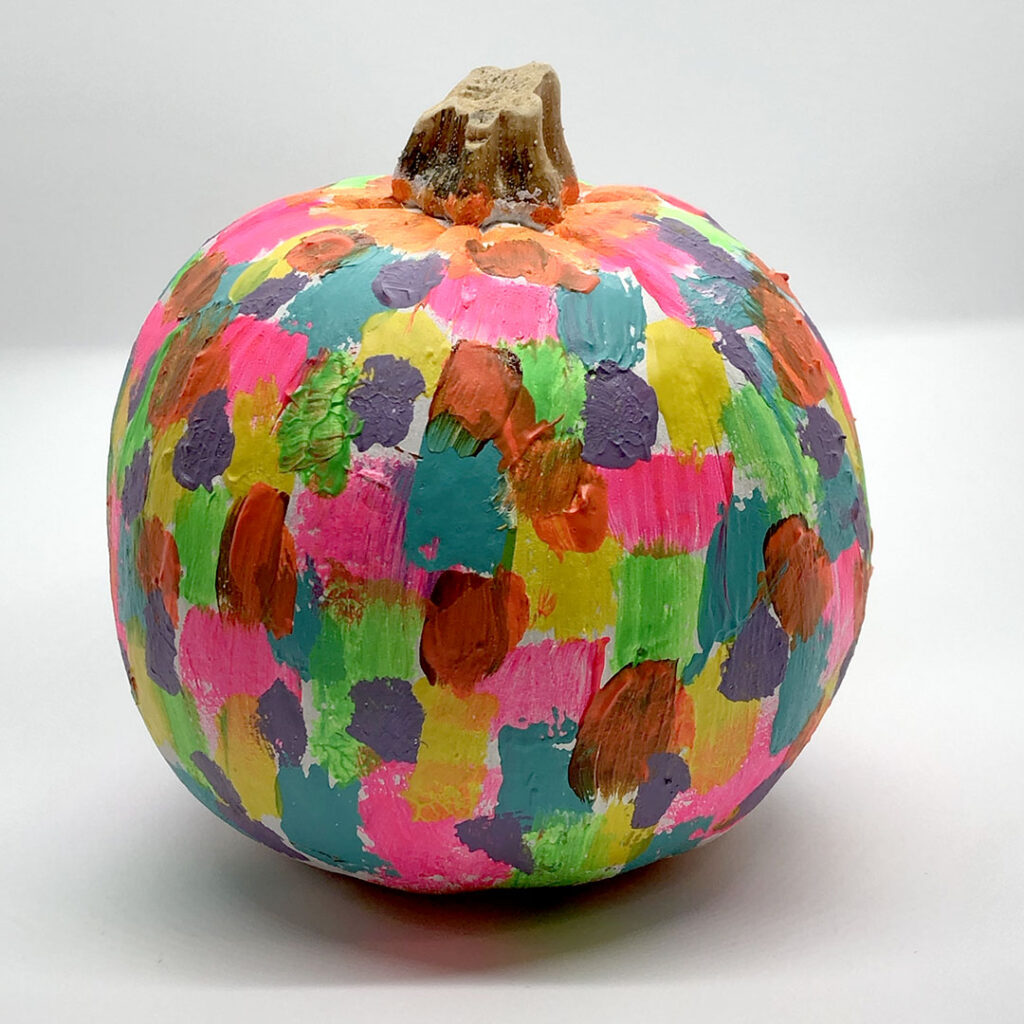
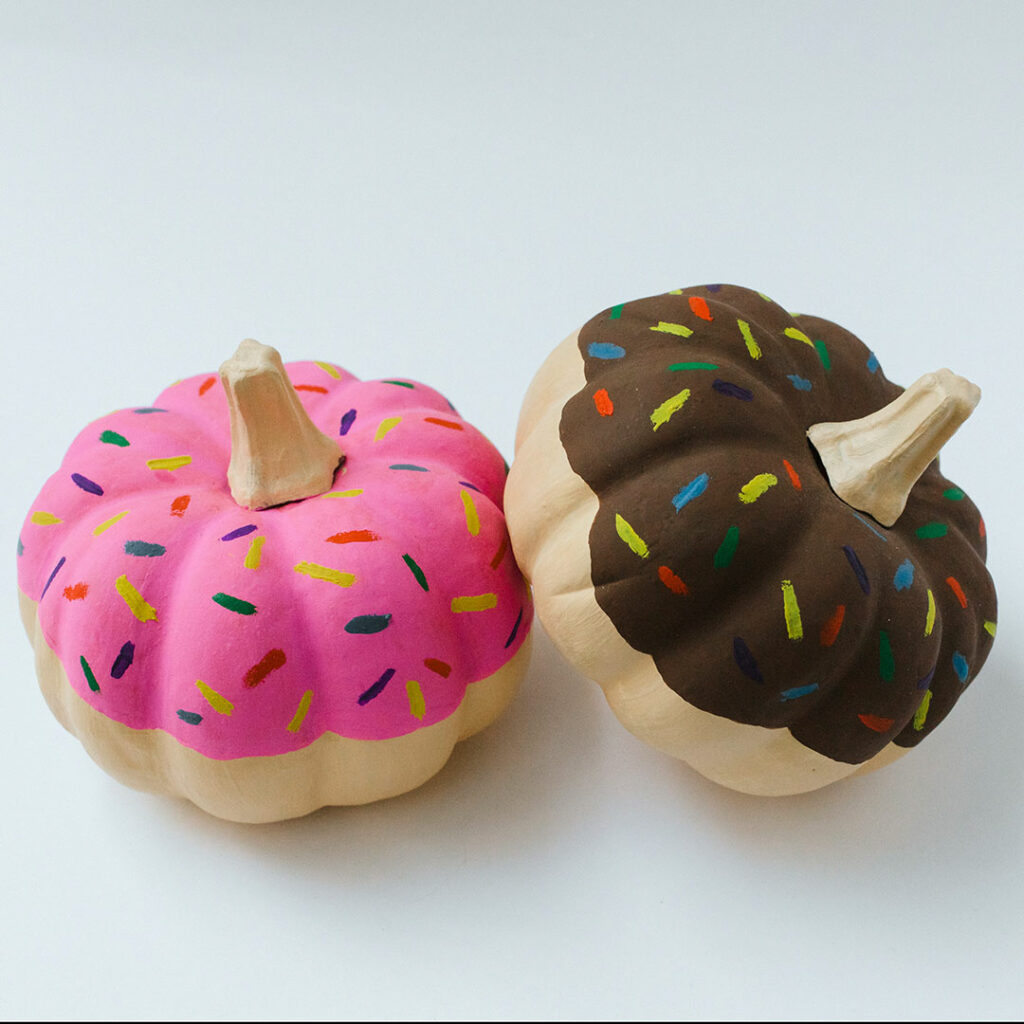
Determine your design. Any design can work. Popular designs include faces, abstracts, fall leaves, and quotes. Once you’ve decided what you’d like to paint, gather the paints, water, wipes, brushes, paint markers, and other implements you need.
Don’t forget to prepare the surface of your desk or table by putting a protective covering on it. We cut a trash bag open and lay it on the table as the paint won’t bleed through it and we can throw it away after the project is complete.
Step 4: Paint the Pumpkin
If you plan to paint your pumpkin fully (not leave a lot of the pumpkin’s natural color showing), you might want to first coat it with gesso. Gesso is a primer coat. It will help make the subsequent paint layers more smooth, even, and true to color.
Regardless of whether you prime it first or not, use acrylic paints to paint your design. Craft paints are fine; there’s no need for high quality paint for a temporary project like this. If you buy a fake pumpkin and plan to keep it for years to come, you might use a higher grade paint.
My oldest daughter loves to spray paint her pumpkins, too. One year she spray painted it silver and then made it look like Cinderella’s carriage. Spray paint is a great way for consistent, all-over coverage.
Lastly, acrylic paint pens work great. I highly recommend Posca markers. Check out how I use them as I paint an owl pumpkin below.

Step 5: Seal the Paint
Especially if you intend to display your pumpkin outside, it’s a good idea to put a sealant over the finished design to protect it. Sealing the painted pumpkin will also help to protect it from getting scratched. A clear gesso (feels gritty but is clear), matte medium (if you don’t care for a shiny finish), gloss medium (if you like a shine), Mod Podge (might be a tad sticky), or spray varnish (strong smelling) will all work.
Cover the pumpkin in a well ventilated area with the sealant and let it dry thoroughly. Make sure the bottom of the pumpkin isn’t left with wet medium on the table top surface. You might need to tip the pumpkin on its side to let it finish drying if you notice the bottom is still wet after the sides are dry.
Step 6: Display and Enjoy!
As previously mentioned, make sure the bottom of the pumpkin is dry regardless of where you choose to display it. That will not only prolong the life of your pumpkin, but protect the surface you display it on. Otherwise, the display options are endless. They’re darling as part of a table scape, on a mantle, or outside on a covered porch.
Painted Pumpkin Gallery
If you’ve painted a pumpkin and would like to be added to the gallery (with credit and link), DM me on Instagram @ArtfulPursuits or email the image to: EBHawks@artfulpursuits.com
Happy Fall!


4 Comments. Leave new
Great ideas! My sister is special needs and can’t carve, so she uses finger paints and stickers for her pumpkins. I recently researched about pumpkin waste, might I suggest an alternative of non toxic paints, so the pumpkins can later be composted or used for fertilizer?
Great idea. Thanks!
LOVE THIS! I especially love the sealing step – I never knew that! Thanks for sharing! We will definitely have to give this a try soon!
Great ideas! The pumpkins are adorable!